Sunrise takes less than three minutes to occur. All the prep for this classic exercise must be done in advance. You don’t want to walk down to the ocean’s edge and fumble through your kit in the darkness of predawn.
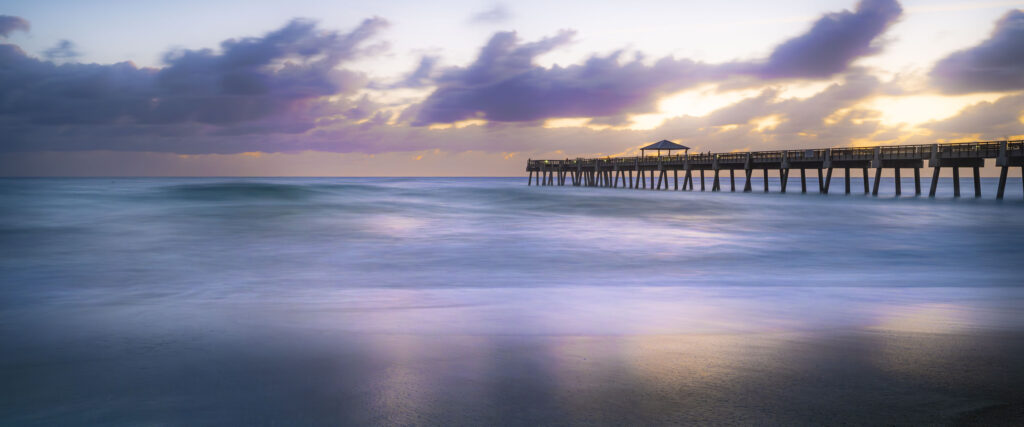
Sunrise Step by Step
- Know the exact time of sunrise in your area and where on the horizon the sun will break the surface (Photo Pills App for your phone)
2. Arrive on location early to be fully set up thirty minutes early—because the
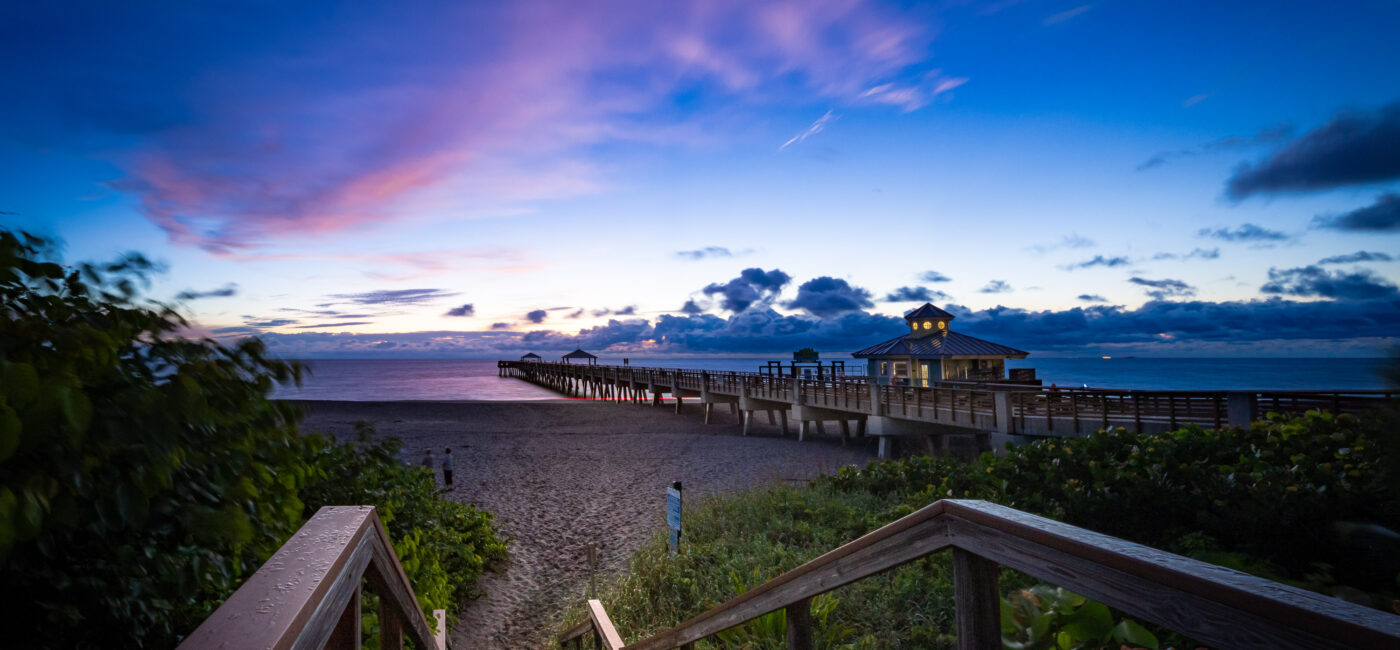
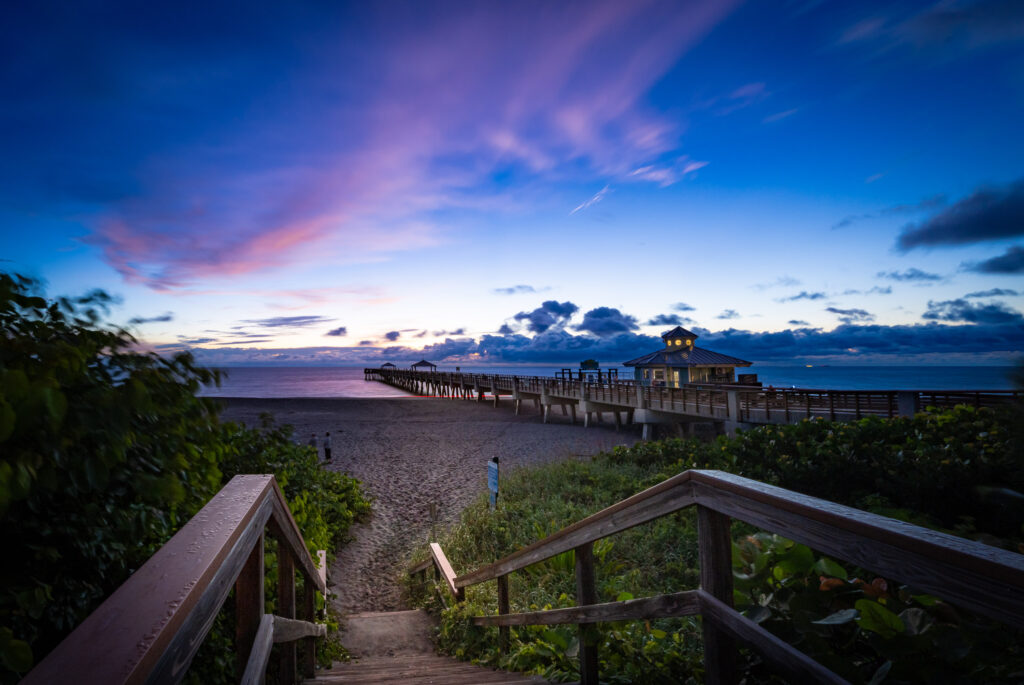
richest sunrise colors (the deep reds and violets) occur in the thirty minutes
prior to the disk of the sun breaking the horizon.
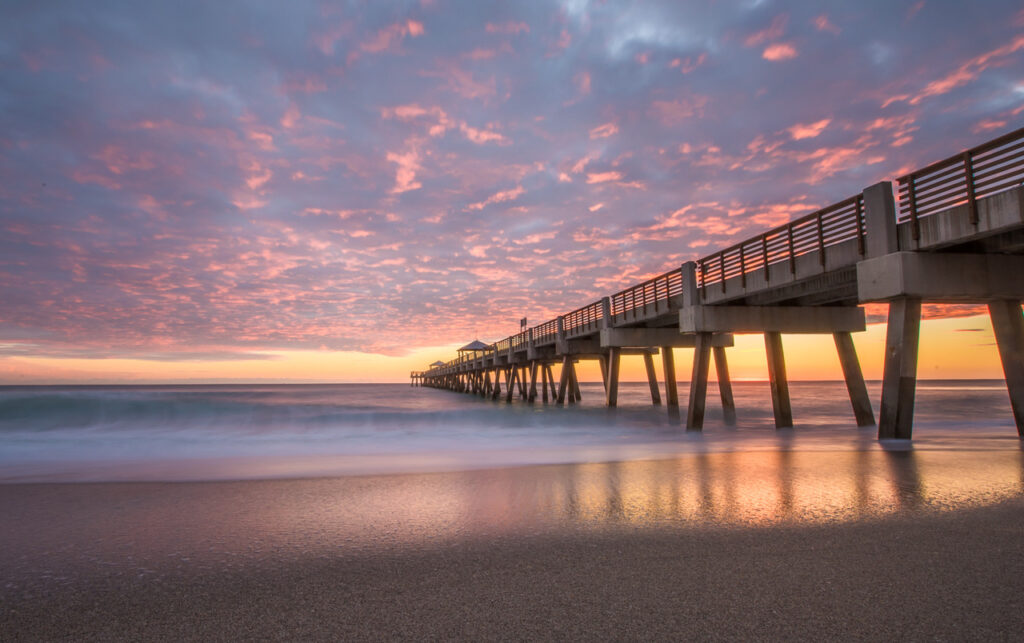
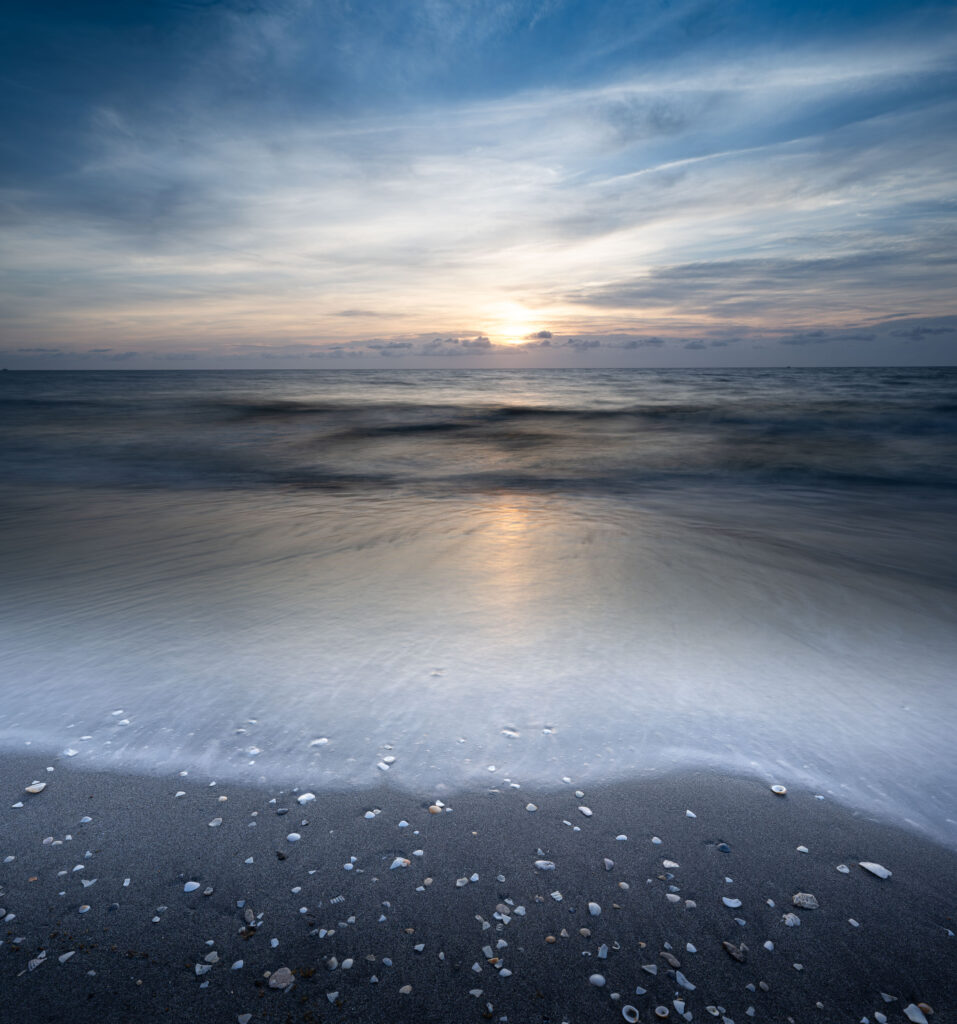
3. Your DSLR or mirrorless performs amazingly well in low light when you lock it down on a tripod, and shoot with a long shutter speed. Its easy, start by “going manual mode”, set your shutter to a 2 second delay, Set to ISO to 100. In the darkness you will be able to take long exposures of up to 30 seconds without an ND filter and record the vivid colors of pre-sunrise while artfully blurring
the incoming waves.
4. Focus accurately in the extreme low light is not a challenge if you learn to use LIVE VIEW. Your camera’s autofocus will struggle, switch it to manual on the lens barrel. Its best to use manual focus with the assistance of the LIVE VIEW on the back of the camera. Move your focus point to an area of high contrast—ideally a small light mid-way into the frame, and use zoom in for perfect focus. Your aperture (F-stop) should be F16 for optimum front to back sharpness.
5. Once focused, the fun begins, wait for a large wave to fully wash up the sands. The open shutter will record the receding water and the reflections created in the freshly wetted sand.
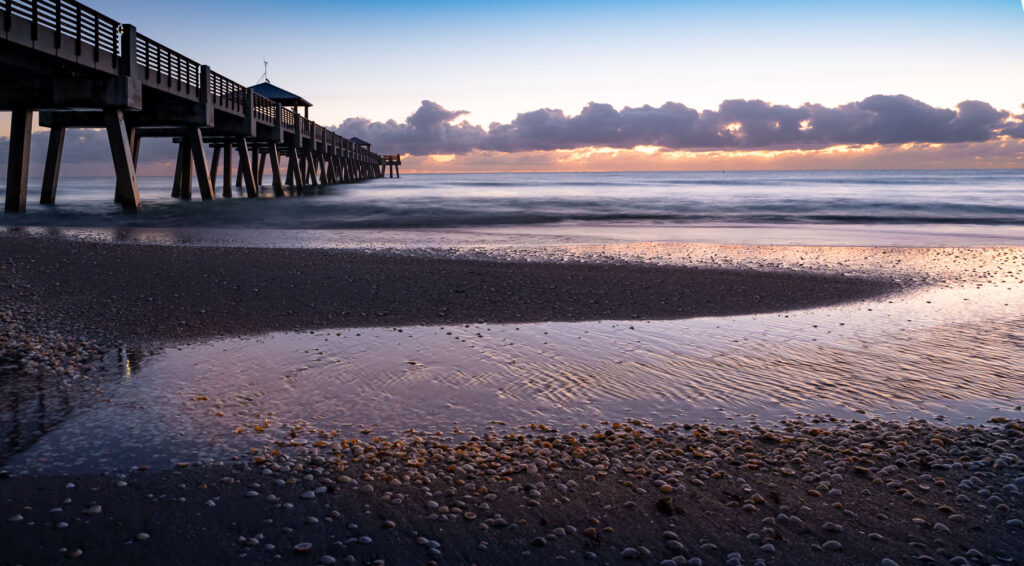
6. Every three or four minutes, as the light increases in the sky, you will have to reduce your shutter speed—from 20 seconds to 10 seconds to 5 seconds to finally 1 second or faster—but your aperture always stays put.
7. The curvature of the earth has created a wonderful situation where the sky is lit first by the sun’s rays. The moisture in the atmosphere acts as a “prism” and create the a rainbow of colors. If you underexpose your images, you will be able to render all of the subtle reds, purses and oranges later in Adobe Light room and Photoshop. If you overexpose, these glorious colors will be washed out.
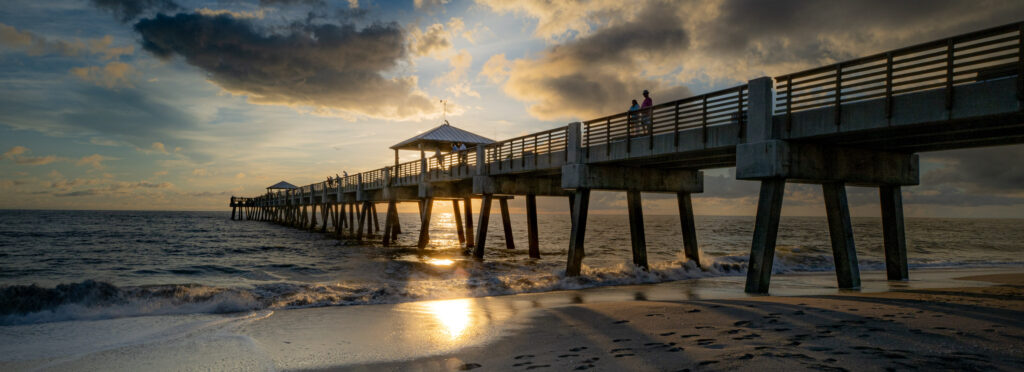
8. To prepare for the disk of the sun breaking the surface, you can add a “reverse ND filter” created specially for sunrises, or you can us a very hard ND filter with a polarizing filter.
The polarizing filter knocks down the harsh reflections that will quickly begin to appear as you face the sunrise.
9. The actual sunrise, takes less than 3 minutes. Once the disk of the sun is above the horizon—no amount of filtering or stopping down will prevent a “burnt out” spot in your frame. No camera has the dynamic range to capture tour star’s nuclear brightness!
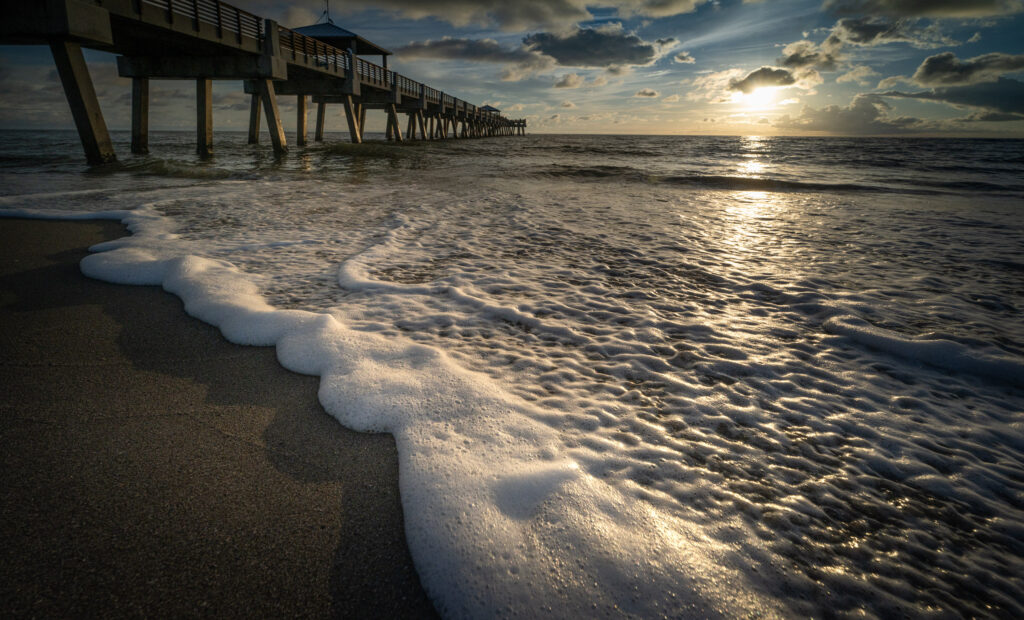
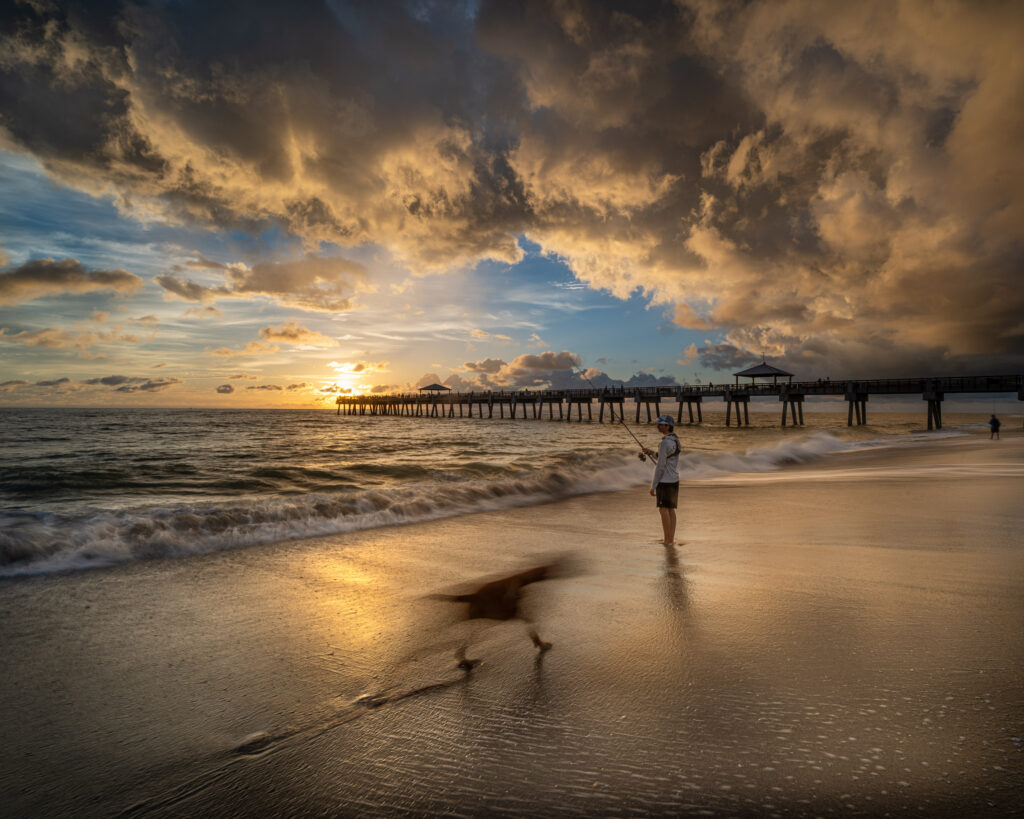
10. At this point, you’ll need to either move to place an environmental object like a pier piling between the camera and the sun or hope for a low cloud to knock down its brightness.
11. An interesting trick is to put your aperture at its highest F-stop and half block the sun behind a palm frond, boat , pier or cloud and your lens will will render the sun with “star rays”
One for each of the blades of your shutter.
